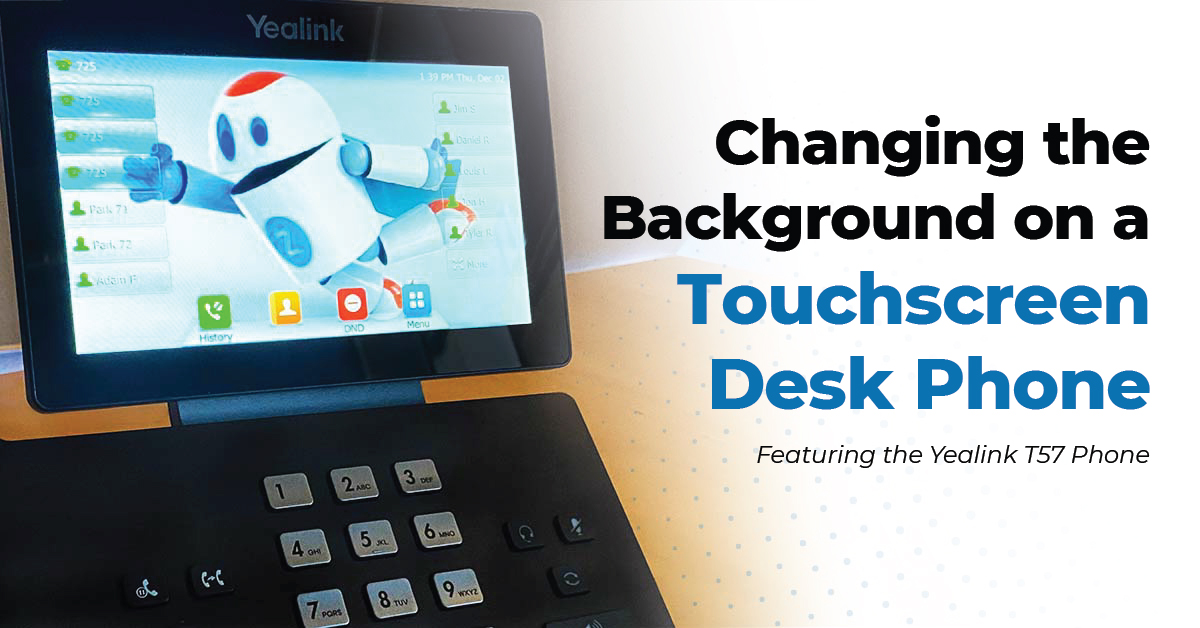
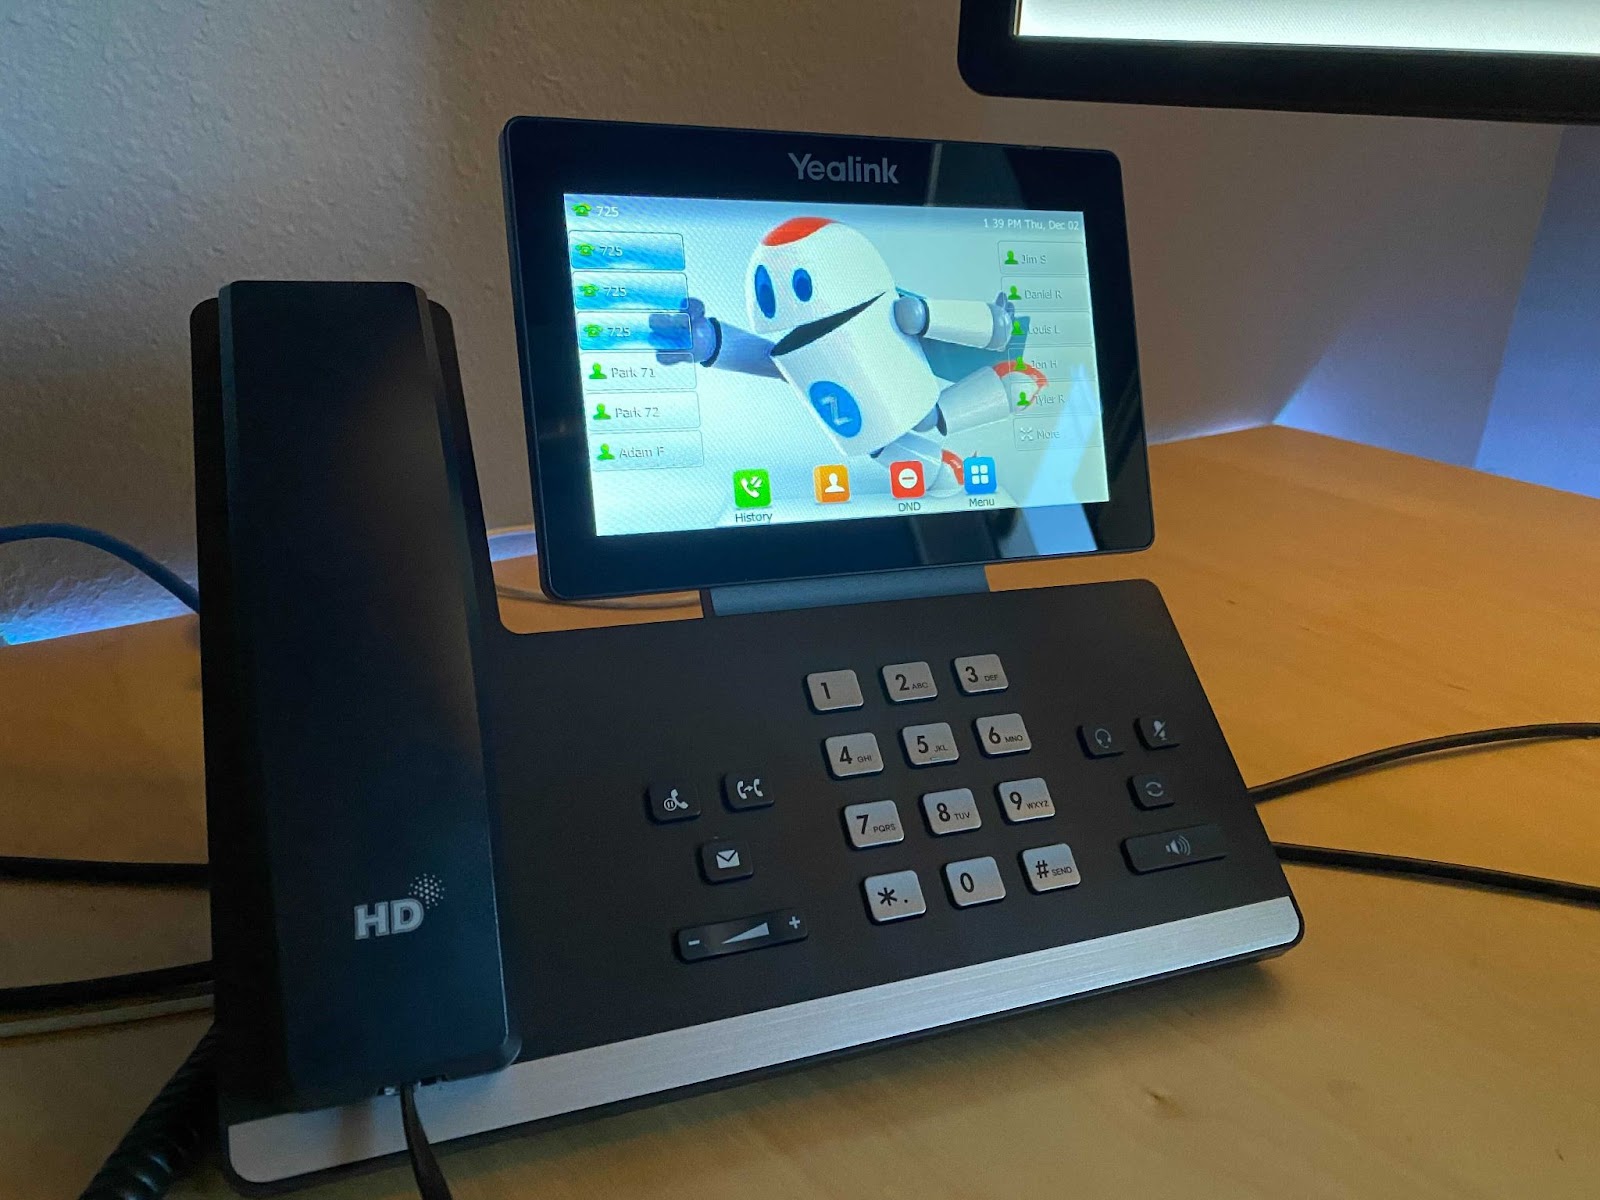
So you purchased the latest and greatest of the Yealink Phones, you purchased a touchscreen desk phone and it came with a stock background photo.
Is it a nice photo? Yes, but it can also be a missed opportunity
If your business did not request a logo or other brand image during the provisioning process, what is one to do?
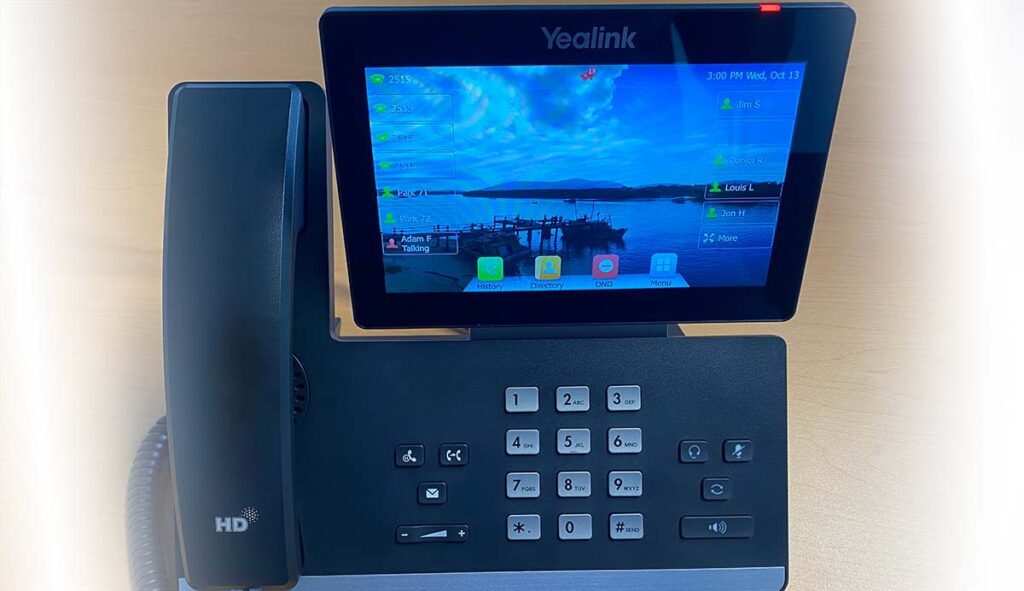
Adding a Background Photo to Your VoIP Phones
Adding a company photo or adding a logo to your business voip telephones is a perfect way to punch up your brand’s visibility throughout your offices, buildings, or facilities. Every desk with a color phone and a USB port is a candidate.
Solving a Modern Problem
Company branding helps employees feel like part of the team when working in the office and is especially important for those working from home.
Fortunately, RingPlan phones like the T57 can be taken home and plugged into any home network while preserving the business background image, caller ID, extensions, and voicemail.
“The next best thing to working in-office is preserving business culture wherever you choose to work”
6 Things to Consider Before Adding a Background Image
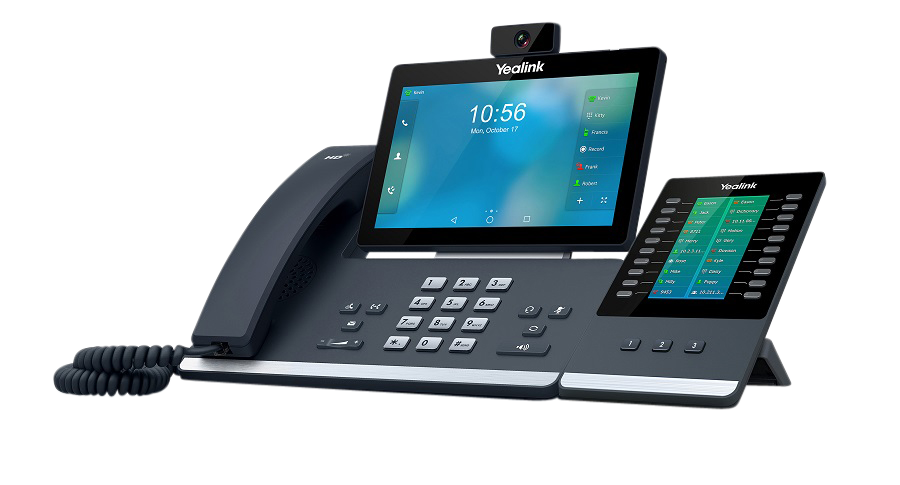
- Choosing a phone – Out of our color touchscreen models, the Yealink SIP-T57w is our favorite desk phone. This impressive phone looks great on any desk and sports a 7-inch color touchscreen with up to 29 line keys; making for a pretty useful display.
- Figure out screen size – Although all IP phones are different, the process to change backgrounds should be similar. Some of the differences will include screen sizes, so ensure your final image size fits your phone screen to the exact pixel. On the SIP-T57w, the screen size is 800×480 pixels so it’s important to have an image prepared at that size. Read your phone’s owner’s manual for specific sizes.
- Consider Contrast – You’ll need to be able to easily read your line keys. Choosing a simple image with good contrast will make your line keys easy to read. You may need to test a few images to find out which one works best for your needs. Have a couple of options available to test and use the one that works the best.
- Not for Everyone – Not all IP phones allow a user to change background images. Cordless phones will fall into this category. Cordless phone users can only select from provided backgrounds. If your phone does not have a USB port, you may not be able to make changes.
- Consider File Size and Format – Your phone will likely only allow up to certain file sizes and only specific formats. Play it safe with a JPG or PNG file under 5MB. See your specific phone provider for specific details regarding file size of your background image.
- Depends on Your Setup – Depending on your VoIP phone system setup, making this change on one phone may affect multiple phones on the same system. Play it safe by only uploading company-approved images.
Get an Instant Price Quote.
Enter the Number of Users Below:
Adding a Background Image After Provisioning
First off, let’s just confirm that requesting a background image during provisioning is your best corporate-level option for getting the same image on every phone at the same time. If you are attempting to add a background image after provisioning, you may have to do it on each phone individually.
Depending on your phone system, updating one phone may update multiple phones, so be cautious
If updating one phone does not update everyones’ phone, you’ll need to provide an image so those left can do it themselves.
If you know employee phone models, you can find out what image size they need ahead of time.
Method 1: Updating Background via USB Port (Easiest)
If your phone has a USB port, you will likely be able to add an image that way.
- Upload your image to your USB drive.
- Plug in your USB drive into the USB port on your phone.
- Navigate to your phone menu and look for Menu>USB. Depending on your phone model, you may need to navigate to Menu>Display>Wallpaper>USB.
- Navigate to >Browse Photo
- Select your photo
- Click on >Set As
- Select >Set as Wallpaper
Method 2: Updating Background via IP Address (Advanced)
You can visit your phone’s IP address to log into your phone from any computer.
- Check the status of your phone to discover your IP address. Visit >Menu > Status
- Type your IP address into a browser window.
- Enter your phone’s login and password to access your phone.
- Navigate to >Settings >Preferences
- Scroll down to Wallpaper.
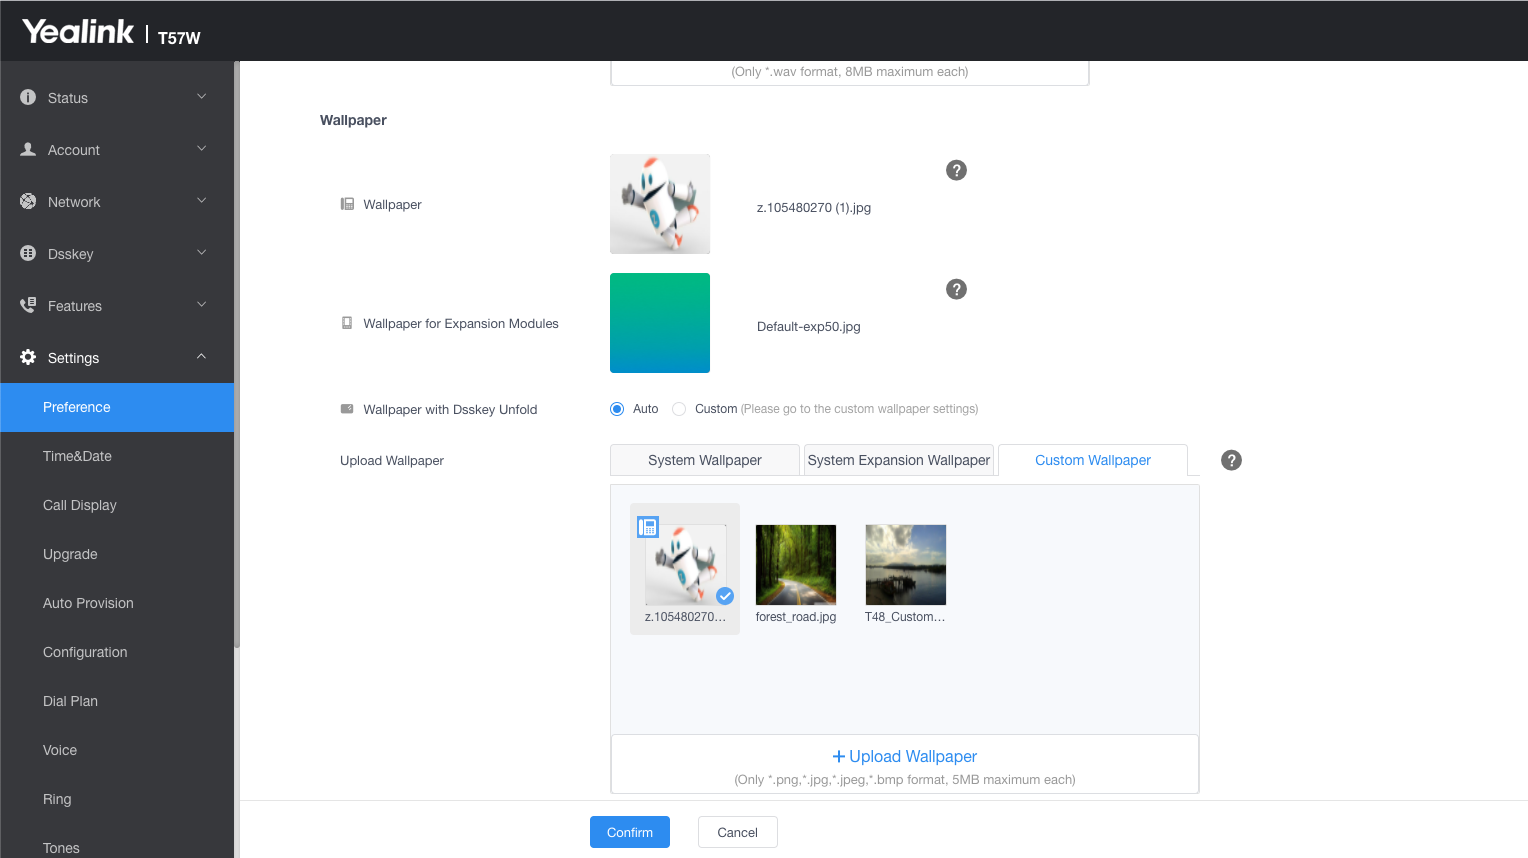
- Select the tab “Custom Wallpaper”
- Upload your sized image.
- Confirm your change. Your phone will update the screen momentarily.
Questions? Contact Us at support@ringplan.com or sales@ringplan.com
Conclusion:
Today’s latest desk-phone models are pretty impressive and allow users to update their background photos. Using the Yealink T57 phone as an example, we walked the user through two ways to update their background image. Method 1 allows a user to update their background image by simply inserting a USB drive and navigating to the image. Method 2 describes how a user can log into their phone by visiting their phone’s IP address, logging in, and making updates. Our instructions above offer a list of items to keep in mind when considering making a background image change such as device specifications, image resolution, and system setup.
